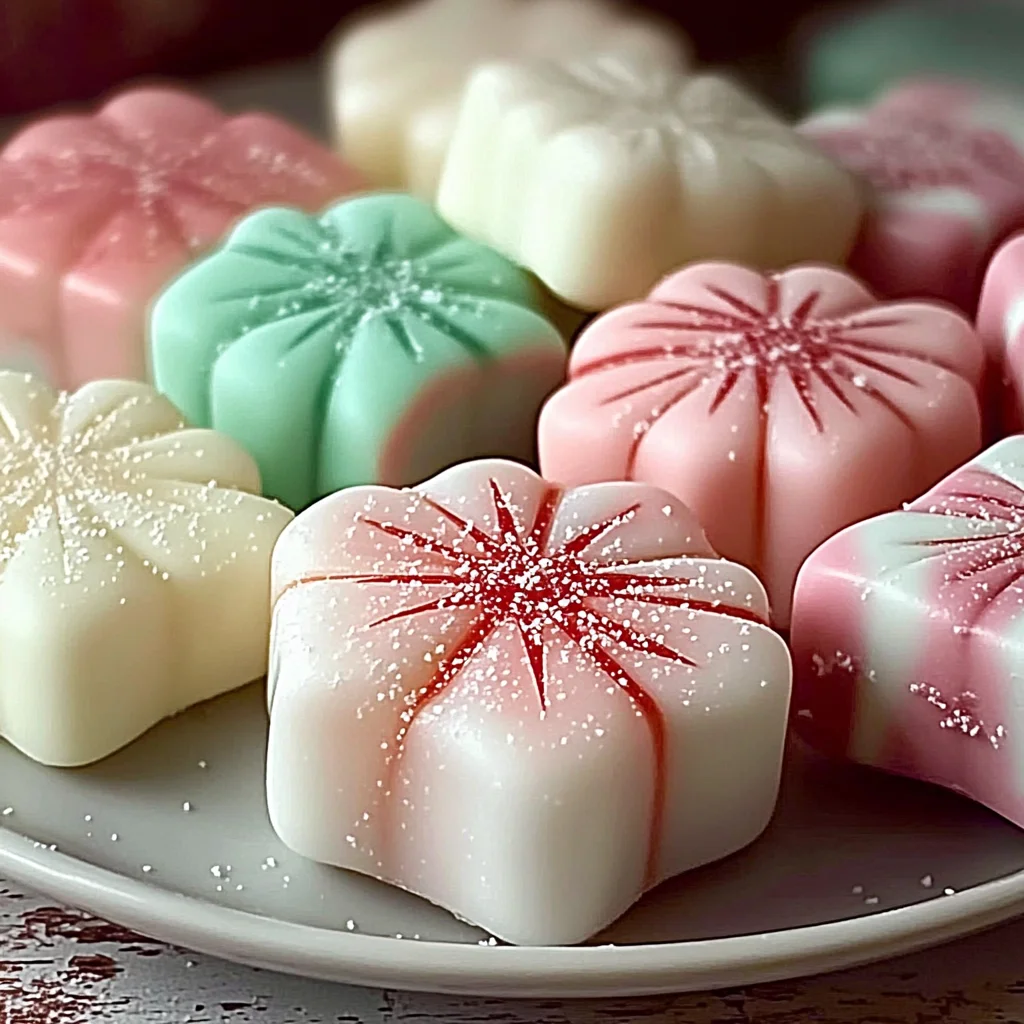
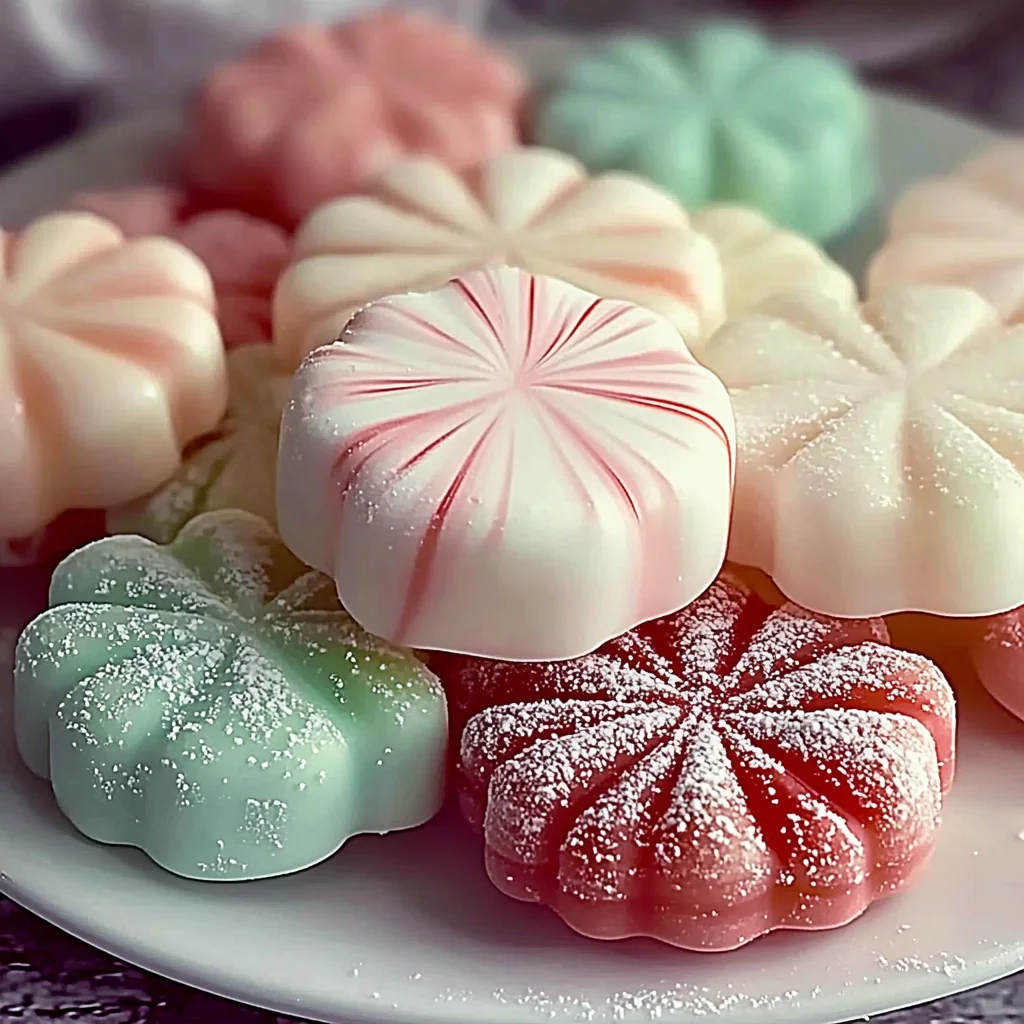
Old-Fashioned Butter Mints
Sweet, creamy, and nostalgic—these Old-Fashioned Butter Mints are the perfect bite-sized treat for any celebration. Whether you’re looking for a quick holiday candy, easy party favor, or vintage dessert idea, these mints check all the boxes. With a melt-in-your-mouth texture and just a kiss of peppermint, they bring back fond memories of family gatherings and dessert tables. No baking required, minimal ingredients, and customizable colors—ideal for anyone looking for a quick dessert or easy recipe to impress.
Why You’ll Love This Recipe
- Easy to Make: With just a few simple steps, you can whip up these delightful mints in no time.
- Customizable Flavors: Adjust the peppermint extract or add other flavors to suit your taste.
- Perfect for Any Occasion: These mints are great as party favors, wedding treats, or holiday gifts.
- No Baking Needed: Enjoy a delicious treat without turning on the oven!
- Fun for Kids: Involve children in rolling and cutting the mints for a fun family activity.
Tools and Preparation
Before diving into this delightful recipe, gather your tools to ensure a smooth preparation process.
Essential Tools and Equipment
- Mixing bowl
- Electric mixer or whisk
- Measuring cups and spoons
- Parchment paper
- Knife or scraper
Importance of Each Tool
- Mixing bowl: A large bowl is essential for combining all the ingredients efficiently.
- Electric mixer or whisk: This tool helps achieve the creamy texture needed for the butter mints quickly.
- Parchment paper: It provides a non-stick surface to dry the mints without them sticking together.
Ingredients
- 1/2 cup unsalted butter, softened
- 4 cups powdered sugar
- 1 tablespoon heavy cream or milk
- 1/2 teaspoon peppermint extract
- 1 pinch salt
- gel food coloring (optional)
How to Make Old-Fashioned Butter Mints
Step 1: Beat the Butter
Start by beating the softened unsalted butter in a large mixing bowl until it is smooth and creamy.
Step 2: Add Flavorings
Next, add peppermint extract, salt, and heavy cream or milk. Mix well until fully combined.
Step 3: Incorporate Powdered Sugar
Gradually mix in powdered sugar, continuing until a soft dough forms. This will be the base of your mints.
Step 4: Color Your Dough (Optional)
If you wish to use coloring, divide the dough into portions and knead in gel food coloring. Create different colors if desired!
Step 5: Shape the Mints
Roll each portion of dough into thin ropes on a surface dusted with powdered sugar.
Step 6: Cut into Pieces
Using a scraper or knife, cut the ropes into bite-sized pieces. Place them on parchment paper.
Step 7: Drying Time
Allow the mints to dry at room temperature for about 8 hours or overnight before serving.
These Old-Fashioned Butter Mints will surely become a favorite among your friends and family!
How to Serve Old-Fashioned Butter Mints
Old-Fashioned Butter Mints are not only delicious but also versatile. They can be enjoyed in various settings, whether as a sweet treat for guests or a delightful addition to your dessert table. Here are some creative ways to serve them.
As Party Favors
- Wrap the mints in clear cellophane and tie with a ribbon for an elegant touch. These make perfect gifts for guests at weddings or special events.
On Dessert Tables
- Arrange the mints in decorative bowls or jars on dessert tables to add a pop of color and sweetness. They complement other desserts beautifully.
With Coffee or Tea
- Serve these mints alongside coffee or tea during afternoon gatherings. Their fresh peppermint flavor pairs well with warm beverages.
In Gift Bags
- Create personalized gift bags filled with mints as holiday gifts or thank-you tokens. This thoughtful gesture is sure to be appreciated.
At Family Gatherings
- Place a bowl of these nostalgic treats on the table during family reunions. They spark memories and conversations among loved ones.
How to Perfect Old-Fashioned Butter Mints
Perfecting Old-Fashioned Butter Mints is easy with a few simple tips. Follow these suggestions to ensure your mints turn out just right every time.
- Use softened butter: Make sure your butter is at room temperature for easy mixing and a smooth texture.
- Sift powdered sugar: Sifting helps eliminate lumps, creating a smoother dough for your mints.
- Adjust peppermint extract: Depending on your taste preference, you can add more or less peppermint extract for stronger or milder flavors.
- Knead food coloring thoroughly: If using gel food coloring, knead it into the dough until evenly distributed for vibrant colors.
- Allow ample drying time: Let the mints dry at room temperature for at least 8 hours to achieve the ideal texture.
- Store properly: Keep the mints in an airtight container to maintain freshness and prevent them from becoming sticky.
Best Side Dishes for Old-Fashioned Butter Mints
Serving Old-Fashioned Butter Mints alongside complementary side dishes enhances their appeal. Here are some delightful options to consider:
- Fruit Platter: A vibrant assortment of seasonal fruits adds freshness and balances the sweetness of the mints.
- Cheese Board: Include a variety of cheeses and crackers that provide savory notes, creating an appealing contrast.
- Chocolate-Covered Nuts: These provide a crunchy texture and rich flavor that pair nicely with the creamy mints.
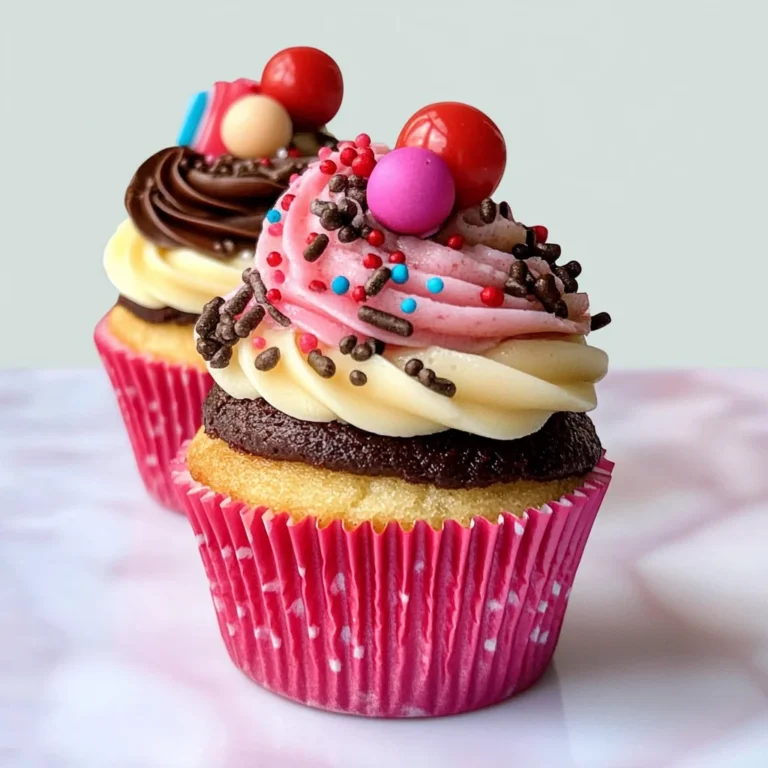
- Mini Cupcakes: Bite-sized cupcakes offer additional sweetness while remaining easy to enjoy alongside the mints.
- Shortbread Cookies: These buttery cookies complement the mint flavor without overpowering it, making them a perfect pairing.
- Gelatin Desserts (using agar-agar): Create colorful gelatin desserts that are vegan-friendly, adding a fun element to your dessert spread.
- Caramel Popcorn: The sweet crunch of caramel-coated popcorn provides a playful snack that guests will love.
- Savory Veggie Platter: Crisp vegetables served with dip offer a refreshing contrast to the rich flavors of butter mints.
Common Mistakes to Avoid
When making Old-Fashioned Butter Mints, it’s easy to make a few errors that can affect your final product. Here are some common mistakes and how to avoid them.
- Using cold butter – Cold butter won’t blend well with the other ingredients. Always ensure your butter is softened for a smooth mixture.
- Not measuring powdered sugar properly – Too much or too little powdered sugar can alter the texture. Use a scale or spoon it correctly into the measuring cup.
- Skipping the resting period – Allowing the mints to dry is crucial for their texture. Don’t rush this step; let them sit at room temperature for at least 8 hours.
- Overmixing the dough – Mixing too long can make the mints tough. Mix just until combined to keep them soft and melt-in-your-mouth.
- Neglecting food coloring evenly – If you’re using gel food coloring, divide and knead thoroughly to achieve uniform color throughout each portion.
Storage & Reheating Instructions
Refrigerator Storage
- Store Old-Fashioned Butter Mints in an airtight container.
- They will keep fresh in the refrigerator for up to 2 weeks.
Freezing Old-Fashioned Butter Mints
- You can freeze mints by placing them in a single layer on a baking sheet until firm.
- Once frozen, transfer them to a freezer-safe bag or container for up to 3 months.
Reheating Old-Fashioned Butter Mints
- Oven – Preheat your oven to the lowest setting and warm mints briefly, just enough for them to soften slightly.
- Microwave – Place mints on a microwave-safe plate and heat in short bursts of 5 seconds until softened.
- Stovetop – Use a double boiler method, gently warming mints over simmering water while stirring occasionally.
Frequently Asked Questions
Here are some common questions about Old-Fashioned Butter Mints that might help clarify any doubts.
How do I customize Old-Fashioned Butter Mints?
You can easily customize these mints by adding different flavor extracts like vanilla or lemon. Gel food coloring also allows you to create vibrant pastel shades.
Can I use different types of extracts?
Yes! While peppermint extract is traditional, you can experiment with other flavors like almond or orange for unique twists on this recipe.
What if my dough is too sticky?
If your dough feels too sticky, gradually incorporate more powdered sugar until it reaches a manageable consistency.
How long do Old-Fashioned Butter Mints last?
When stored properly, these mints can last up to two weeks in the refrigerator or three months in the freezer.
Final Thoughts
Old-Fashioned Butter Mints are not only nostalgic but also incredibly versatile and easy to make. With their creamy texture and customizable colors, they make delightful gifts for any occasion or sweet additions to party tables. Don’t hesitate to try this simple recipe and impress your friends and family with these delightful treats!
Old-Fashioned Butter Mints
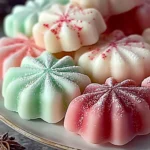
Old-Fashioned Butter Mints are a delightful, bite-sized treat that brings nostalgia and sweetness to any occasion. These creamy mints are easy to prepare, requiring no baking and minimal ingredients, making them perfect for last-minute party favors or festive gatherings. With their melt-in-your-mouth texture and subtle peppermint flavor, they can be customized with vibrant colors to match your event’s theme. Whether you serve them at weddings, holidays, or family reunions, these mints will surely impress your guests and spark fond memories.
- Prep Time: 15 minutes
- Cook Time: None
- Total Time: 0 hours
- Yield: About 30 mints 1x
- Category: Dessert
- Method: No baking
- Cuisine: American
Ingredients
- 1/2 cup unsalted butter, softened
- 4 cups powdered sugar
- 1 tablespoon heavy cream or milk
- 1/2 teaspoon peppermint extract
- 1 pinch salt
- gel food coloring (optional)
Instructions
- Beat the softened butter in a large mixing bowl until smooth and creamy.
- Add peppermint extract, salt, and heavy cream or milk. Mix until fully combined.
- Gradually incorporate powdered sugar until a soft dough forms.
- Divide the dough and knead in gel food coloring for vibrant hues (optional).
- Roll portions into thin ropes on a powdered sugar-dusted surface.
- Cut the ropes into bite-sized pieces using a knife or scraper and place them on parchment paper.
- Allow the mints to dry at room temperature for about 8 hours or overnight.
Nutrition
- Serving Size: 1 mint (approximately 7g)
- Calories: 27
- Sugar: 6g
- Sodium: 1mg
- Fat: 1g
- Saturated Fat: 0g
- Unsaturated Fat: 0g
- Trans Fat: 0g
- Carbohydrates: 6g
- Fiber: 0g
- Protein: 0g
- Cholesterol: 3mg